Excel is considered an indispensable tool in office informatics, supporting in work and studying a lot and adjusting cell widths in Excel is a basic skill to help present Excel more professionally.

Adjust row column widths in Excel.
The content of the article:
1. AutoFit feature in Excel.
2. How to adjust cell width in Excel with AutoFit.
3. How to automatically adjust cell width in Excel.
1. AutoFit feature in Excel
AutoFit in Excel is one of the important features in Excel that automatically adjusts the cell width in Excel, matching the contents in the cell. This AutoFit feature makes it easy for users to adjust the width of columns and rows in Excel so that the content inside is fully displayed.
Normally, when using Excel, you will find cells that cannot be adjusted in size by themselves, causing long data to be lost, obscured, occupying other cell space. For data that is a series of numbers or a date, the data series in the cell will change to ### without displaying the usual number as you write. Therefore, you need to use the AutoFit feature to support cell size adjustment.
2. How to adjust cell width in Excel using AutoFit
* How to adjust column width in Excel
For adjusting the width of the column, you do the following steps:
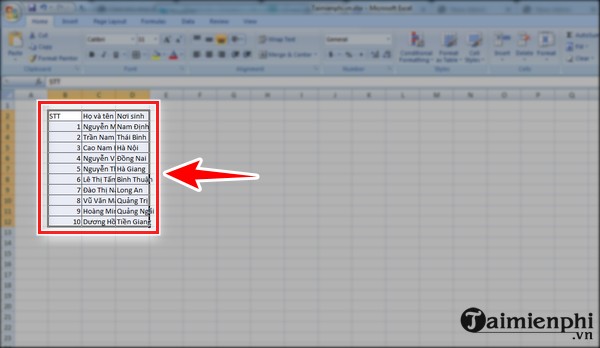
Step 1: After you enter all the necessary data, click on the box with the data and press “Ctrl + A” or highlight the data.
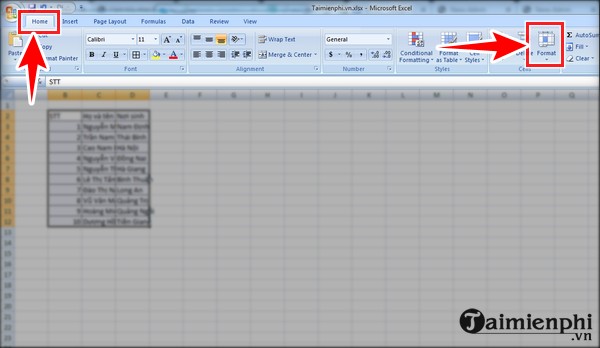
Step 2: On the toolbar, select “Home” and then select “Format” as shown below.
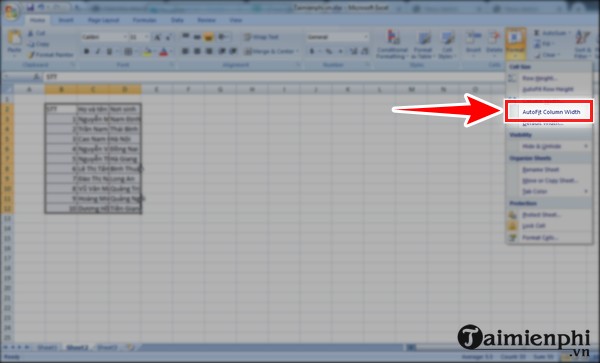
Step 3: At this point, you will see many options appear, click “AutoFit Column Width“.
Once done, the width of the column will be adjusted accordingly as shown below.

Or you can type a shortcut to adjust column width in Excel with the following syntax: ALT – O – C- W and then you fill in the size that you want to adjust the width of the cell.
* How to adjust row width in Excel
To adjust the width of your row:
Step 1: After you enter all the necessary data, click on the box with the data and press “Ctrl + A” or highlight the data.

Step 2: On the toolbar, select “Home” and then select “Format” as shown below.
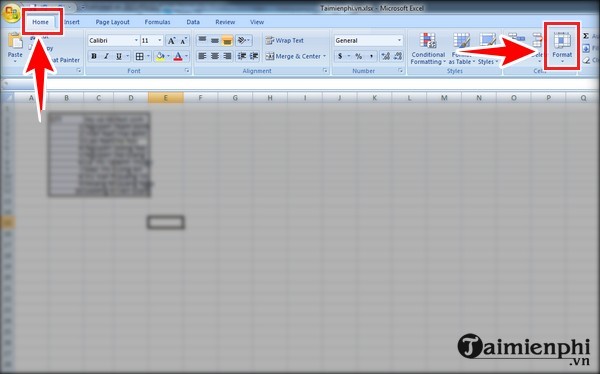
Step 3: At this point, you will see many options appear, click “AutoFit Row Height“.

Once done, the width of the row will be adjusted accordingly as shown below.

3. How to automatically adjust cell width in Excel
In addition to the above ways of automatically adjusting column and row widths in Excel, you can also auto adjust manually to the desired size.
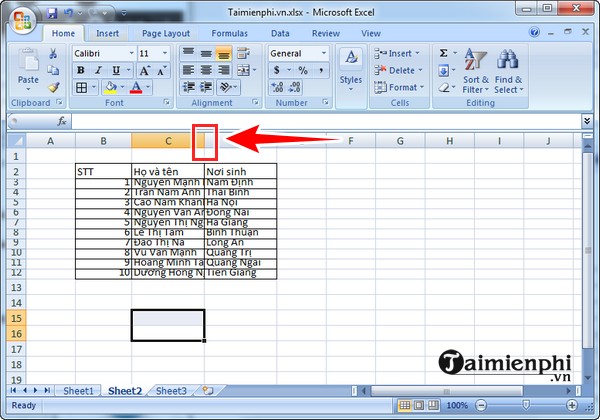
* With columns
For example, if you adjust column C as shown in the figure, you hover over the bar in column C as shown below. When the mouse turns into a plus sign, you can drag it right and left to adjust the column size.
– Drag the mouse to the left, column C smaller.
– Drag the mouse to the right, column C will enlarge.
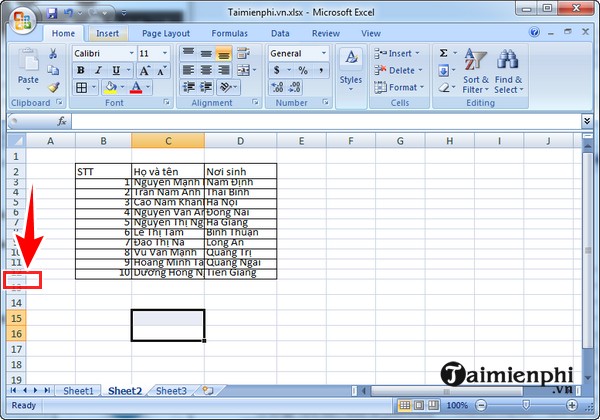
* With rows
Similar to above, if you adjust the row, you also click on the row you want to edit and then move the mouse to the bottom bar as shown. When the mouse turns into a plus sign, you drag the mouse up or down.
– Drag the mouse up, the row will be smaller.
– Drag the mouse down, the row will enlarge.
Note: You can edit multiple rows and columns at once by highlighting all rows or columns and doing the same as above.
https://thuthuat.taimienphi.vn/cach-dieu-chinh-do-rong-o-trong-excel-67344n.aspx
Hopefully, with the above sharing, you already know how to adjust cell width in Excel, helping your work happen quickly. If you still have questions, please leave a comment, Software will help you answer and guide quickly. You can see more of this article to have more useful skills using Excel, expanding, adjusting cells.